
Do you want to start playing Nintendo Switch games on your Android smartphone right away? Your solution is here, and it is the Egg NS Emulator – an application that will allow you to play your favourite Nintendo Switch games in any place and at any time. Whether you’re a fan of action, adventure, or strategy games, this emulator has you covered with its compatibility with hundreds of titles, including 3A games that offer immersive experiences.
However, if you’re new to emulation or confused about how to use this emulator, don’t worry. In this step-by-step guide, I’ll help you to set up and use Egg NS Emulator to Play Nintendo Switch Games/ROMs on Android. Therefore, take your Android device—For this guide, I’ll be using an Asus ROG 5 (Snapdragon 888)—and let’s get started. In just a few moments and with these simple-to-follow instructions, you will be immersed in the Nintendo Switch gaming world.
Table of Contents
Steps to Set Up and Use Egg NS Emulator on Your Android Device
Here is a step-by-step guide on how to set up and use the Egg NS Emulator on your Android device to play Nintendo Switch games:
1. Download Games (NSP, XCI ROMs)
To begin playing the game you wish, you will first need to download its ROM file. All Nintendo Switch emulators supports games in NSP/XCI format, and you can easily get the ROMs from the link provided below.
2. Create Games Folder
Before moving on to the emulator, we’ll first create a folder where we’ll place our Nintendo Switch ROMs (NSP/XCI). This folder will be required later in the guide. Here’s how to do it:
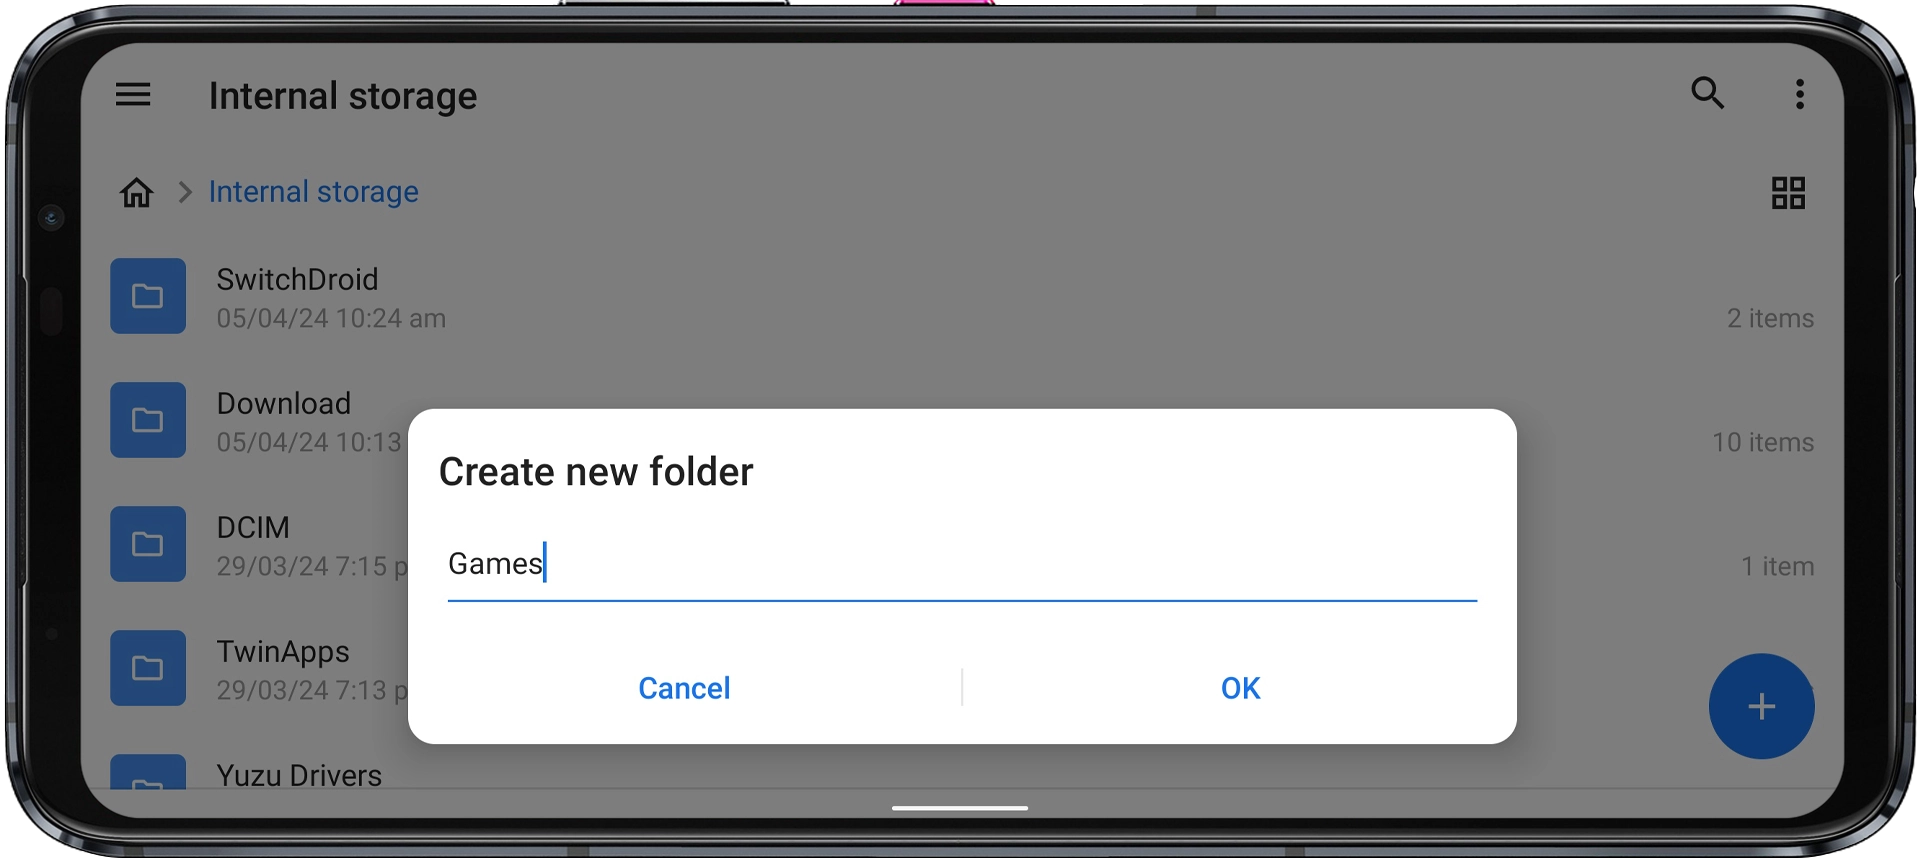
Step 1: Open the File Manager on your device, whichever default file manager you have, it doesn’t matter.
Step 2: Now, in your internal storage, create a folder named “Games.” You can name it anything you like, but I suggest naming it “Games” to prevent confusion later on.
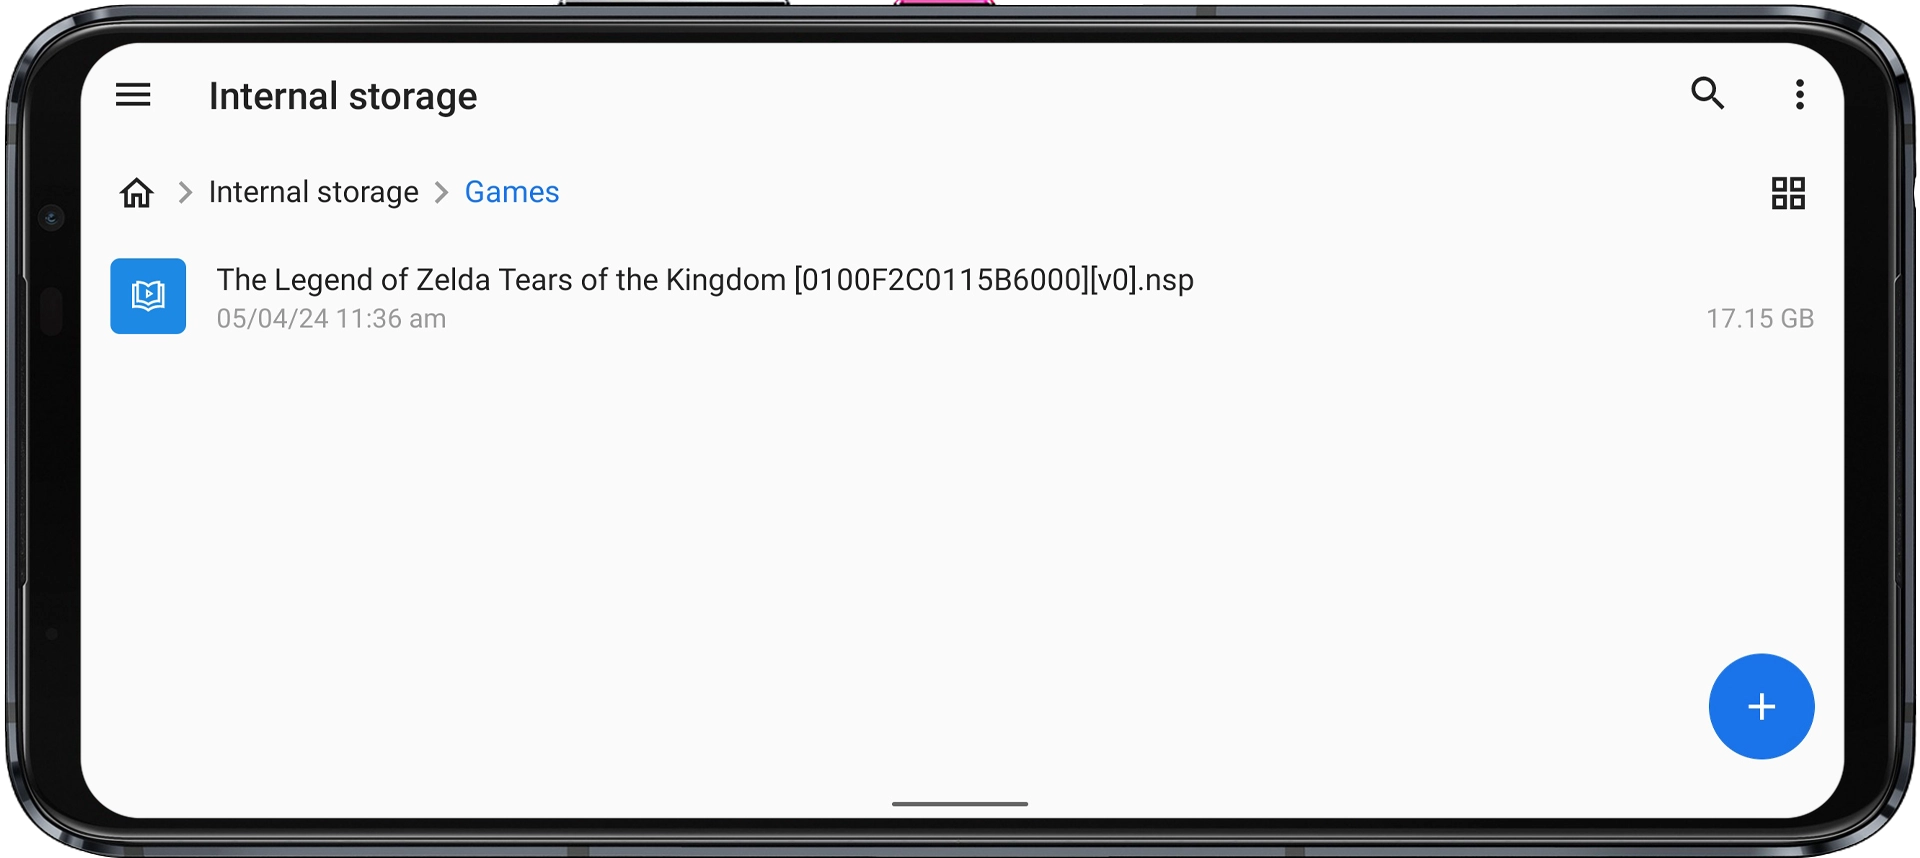
Step 3: Paste your NSP or XCI ROM file into this “Games” folder. In this guide, I’ll be using “The Legend of Zelda: Tears of the Kingdom [0100F2C0115B6000][v0].nsp.” You can also download this and many other NSP/XCI ROMs from the button provided above.
3. Setting Up Egg NS Emulator
Step 1: Download and install the Egg NS Emulator app from the button below. Do not open it yet.
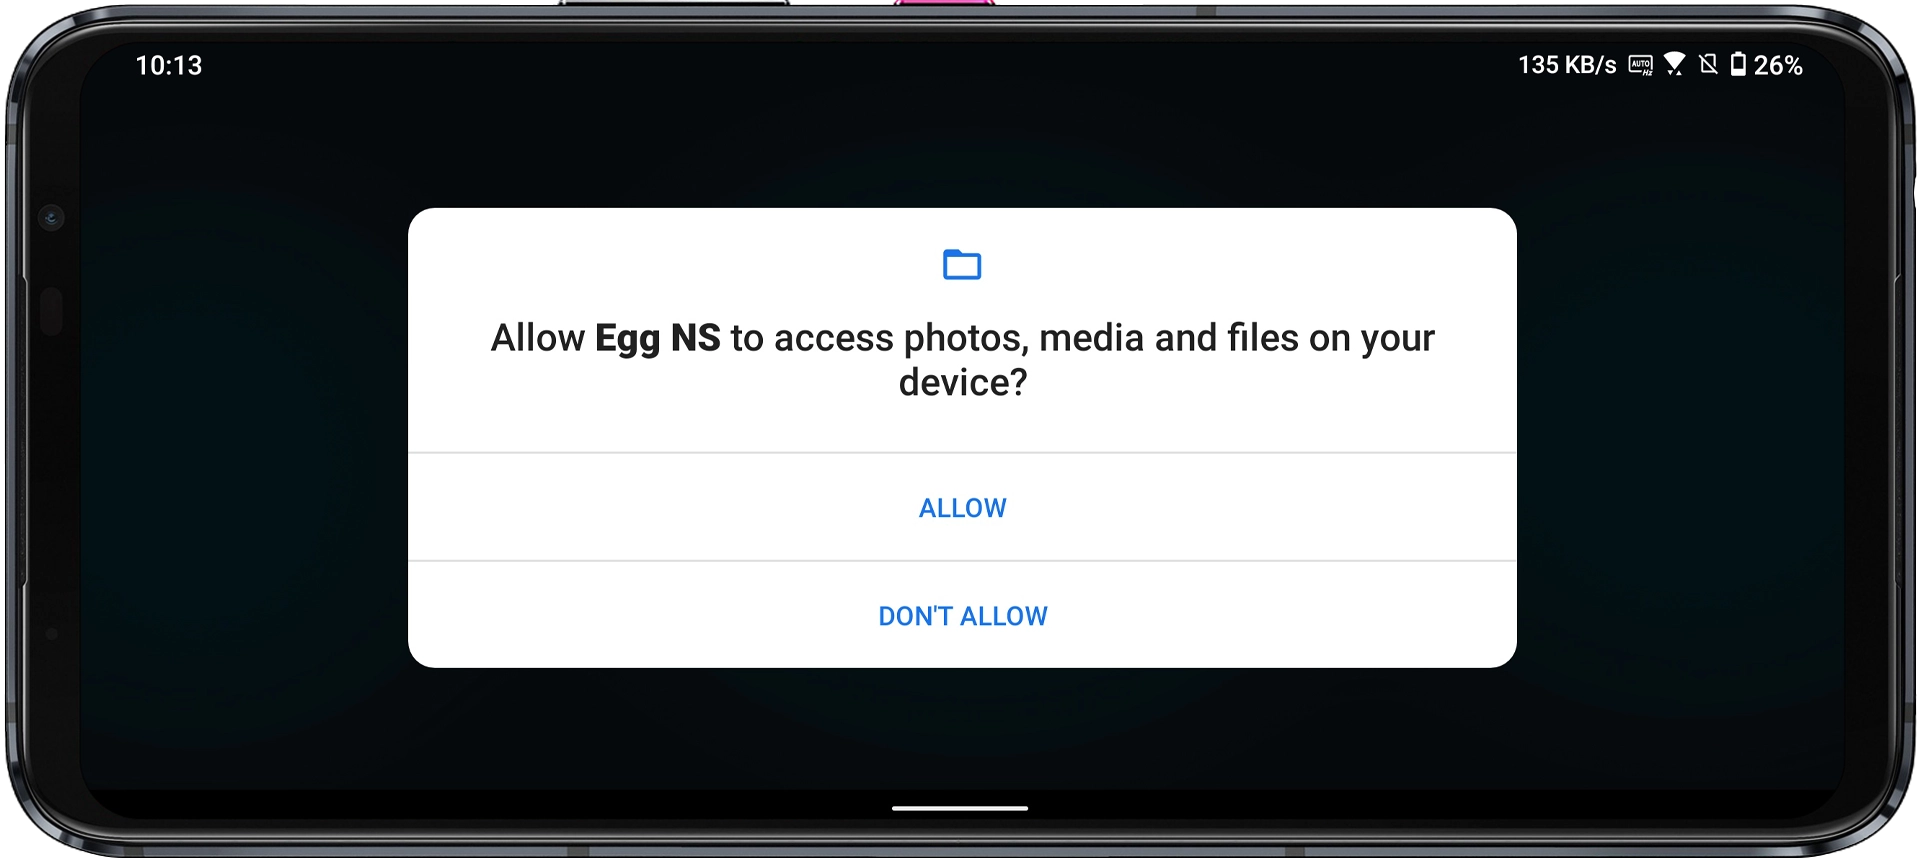
Step 2: Launch the Egg NS application. It will ask for some permissions; allow it.
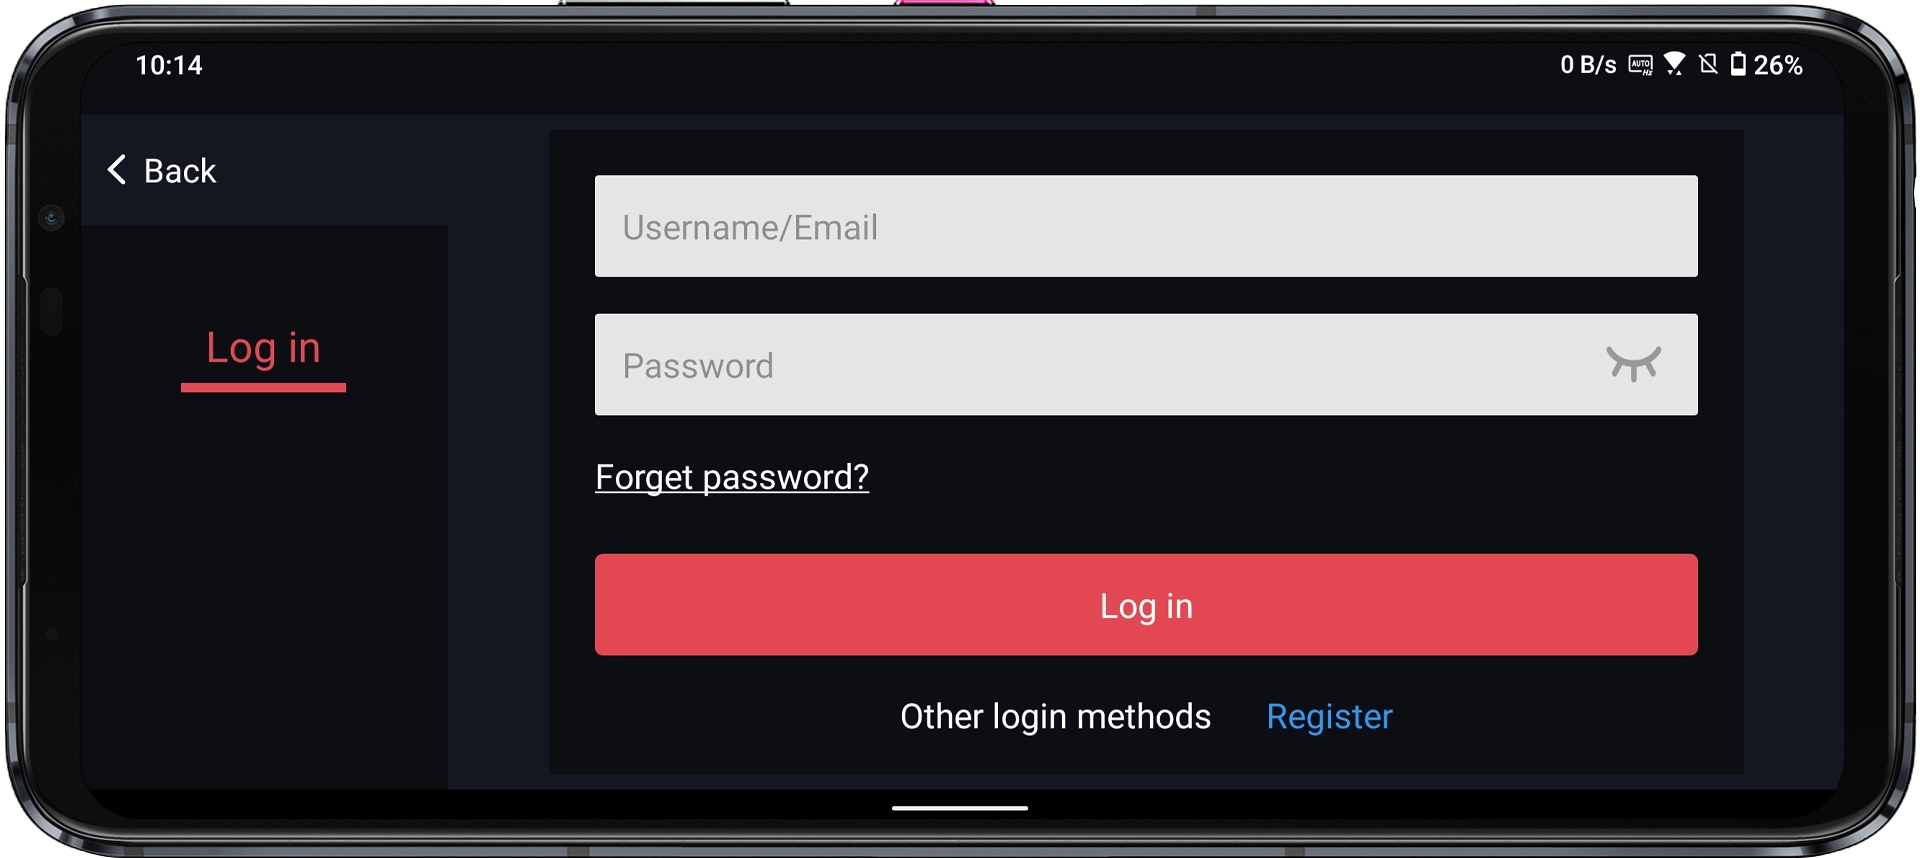
Step 3: You’ll get to the login page. Click on ‘Register‘ to create a new account and then log in.
Step 4: You’ll be gifted 3 days of VIP membership for registering. Click ‘Got it.’

Pro tip: You can use Temp Mail to register unlimited accounts and get free VIP membership.
Step 5: Once registration is done, you’ll see an option to download the EggNS Component. Click the ‘DOWNLOAD NOW‘ button, and it will automatically download the SwitchDroid folder, which is required for emulation.

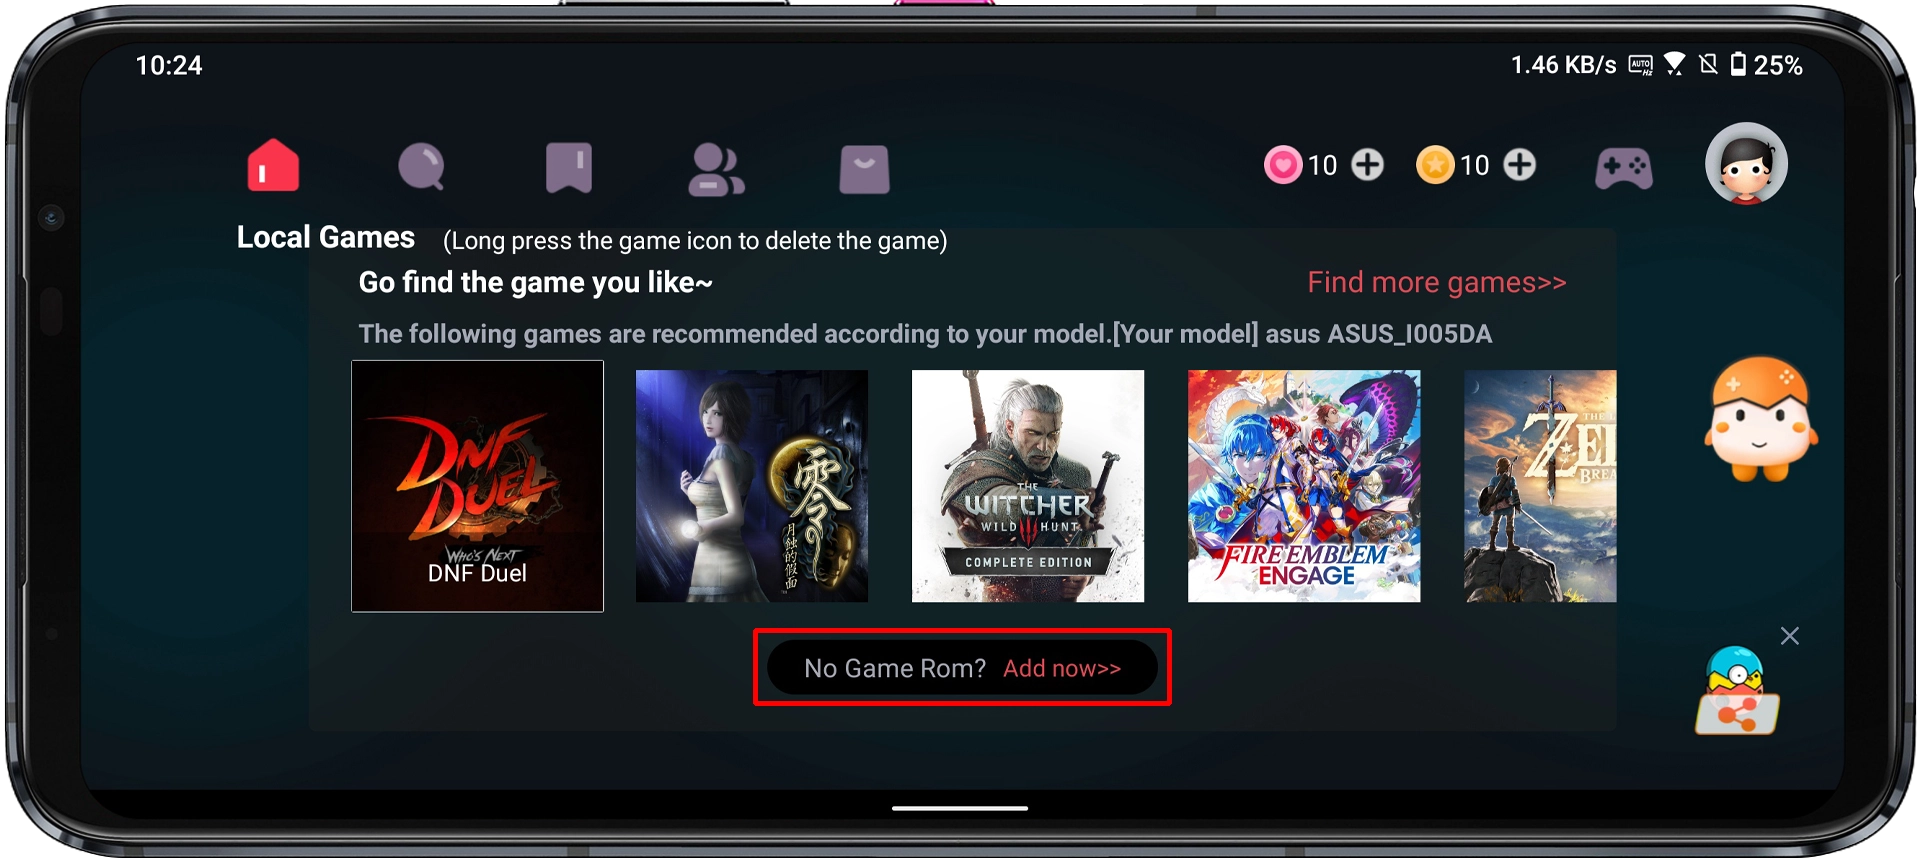
Step 6: Once the downloading is finished, you’ll see an option “No Game Rom? Add now>>” Click on it.
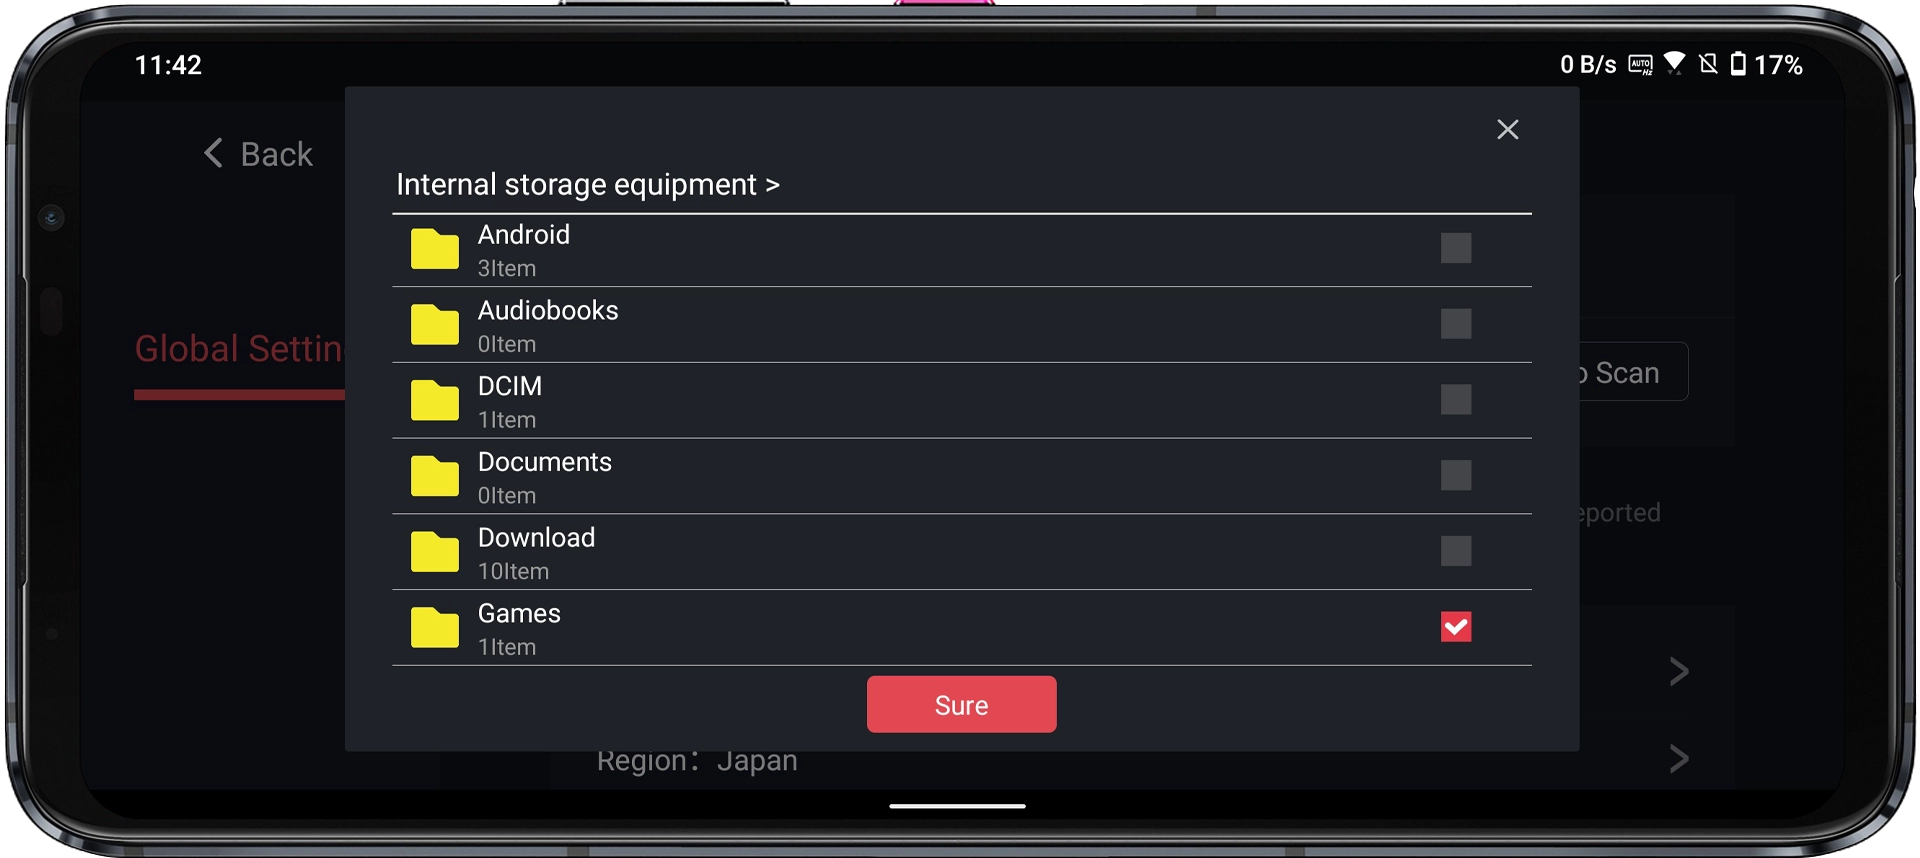
Step 7: Select the “Games” folder we created before and then click “Sure.”

Step 8: Select the Games folder we created before and then click Sure.
Step 9: Once the Games folder is selected, click on the back button on the top left corner.
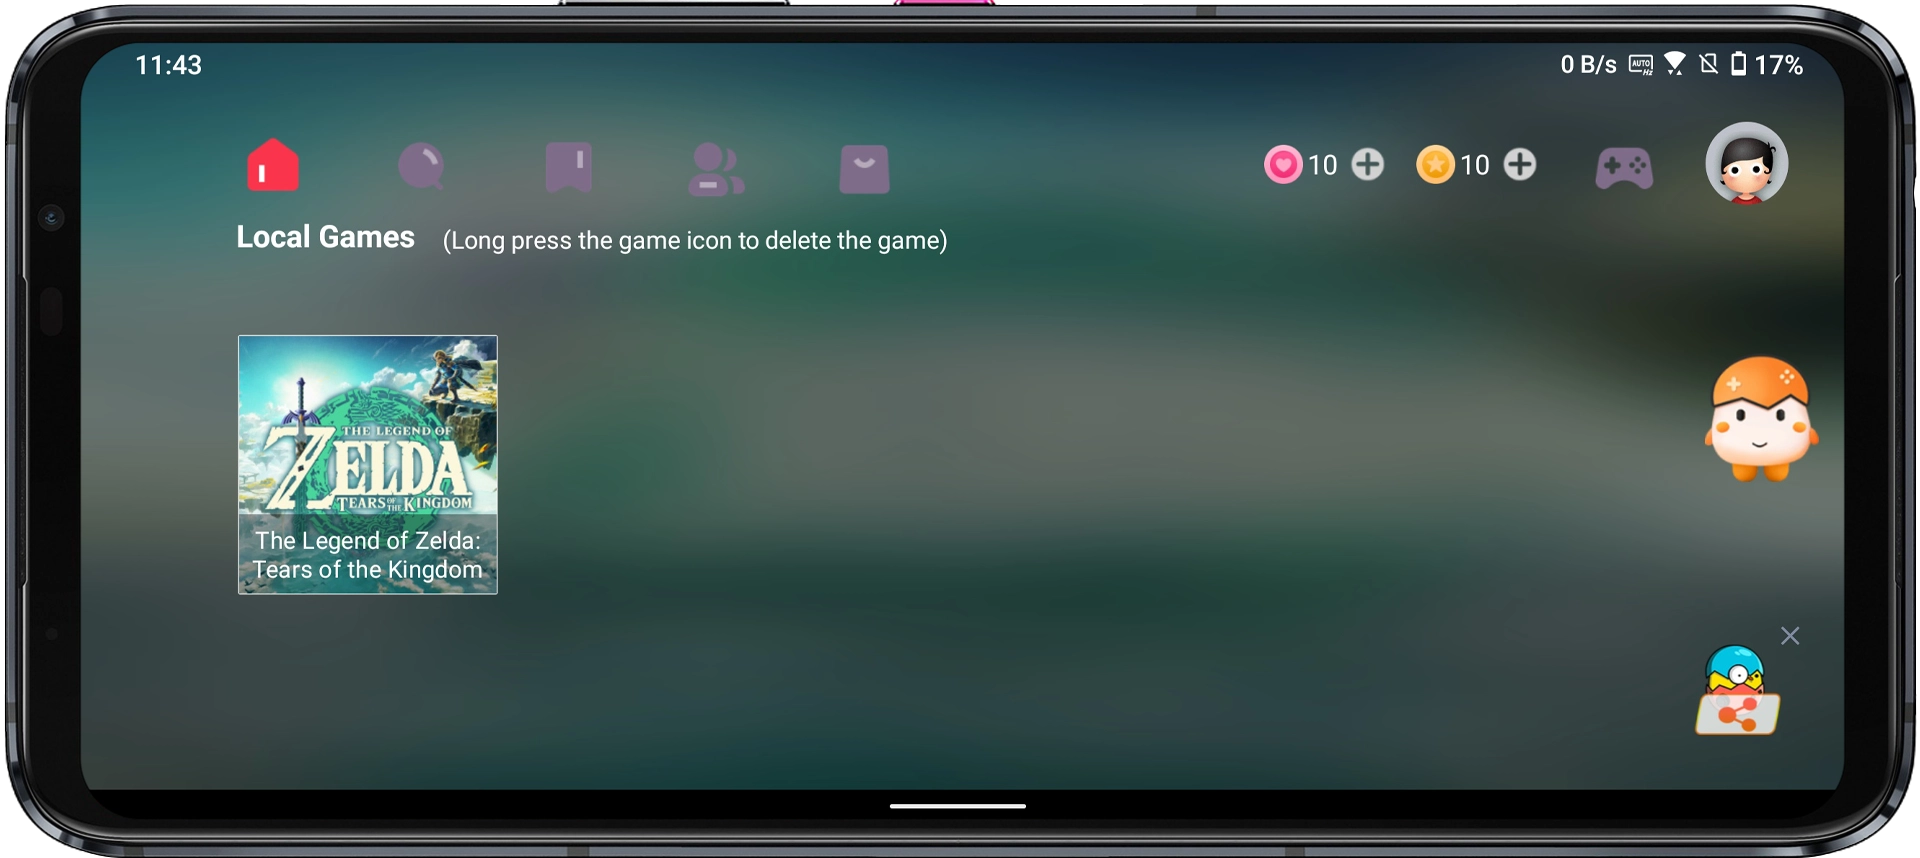
Step 10: Now, here you’ll see all the NSP or XCI ROMs that you stored in that folder. In my case, “The Legend of Zelda: Tears of the Kingdom” is showing up here because I’ve placed its ROM in the Games folder.
4. Enjoy the Game
After you’ve placed the Games folder and you can see your games on the main screen, just follow these last few steps to get the game running:
Step 1: Simply Click on the game you want to play to launch it.
Step 2: You may get a Tips popup here “The driver package is missing. Would you like to download it now?” Click on the Download button as these drivers are required to run the game.

Step 3: Choose how you want to play, Touch Control or Controller Play depending on your preference. I’m using Touch Control as I want to play using my device’s touch screen. Enjoy your gaming!


Egg ns sao ko có phần update DLC đơn giản như Yuzu. Muốn update game trong Egg ns khó quá.
Yes, you are right, my friend. There should be an option in EGG NS for that.